Site Search
Monday, March 31, 2008
How To: Deploy MSI on Client - Options
How To: Deploy MSI on Server
Sunday, March 30, 2008
How To: Management Console
How to Configure a custom console
1.Click "Start", "Run" and type mmc, clik OK.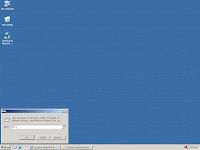
2. Console windows will open
3. Click File and then Add/Remove Snap-in
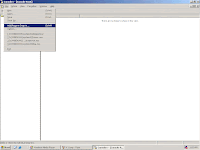
4. In the Add/Remove Snap-in dialog box, click Add
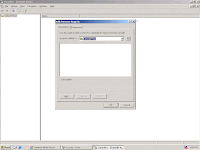
5. Click Active dierctory users and computer, and click Add
Double click Active directory sites and services snap in
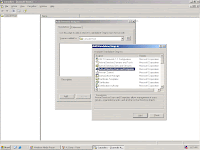
6. Scroll down to Group Policy Object Editor and click Add
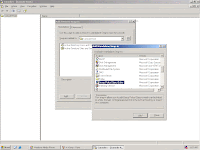
7. Make sure Local Computer is selected and click Finish
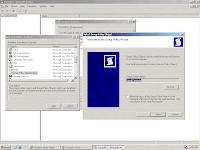
8. In the Add/Remove Snap in dialog box, click the Extensions tab
ensure Add all extensions chech box is selected. Click Ok
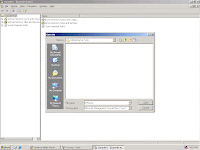
9. To save console, click File, Save.
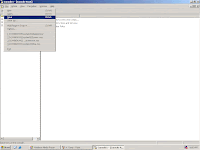
10. Save the mmc and type the filename on the text box and click save
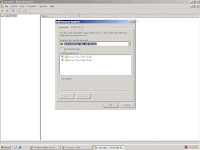
1.Click "Start", "Run" and type mmc, clik OK.

2.
 Console windows will open
3. Click File and then Add/Remove Snap-in

4. In the Add/Remove Snap-in dialog box, click Add

5. Click Active dierctory users and computer, and click Add
Double click Active directory sites and services snap in

6. Scroll down to Group Policy Object Editor and click Add

7. Make sure Local Computer is selected and click Finish

8. In the Add/Remove Snap in dialog box, click the Extensions tab
ensure Add all extensions chech box is selected. Click Ok

9. To save console, click File, Save.

10. Save the mmc and type the filename on the text box and click save

Wednesday, January 23, 2008
How To: Create FTP Server
1. Go to Add/Remove Programs.

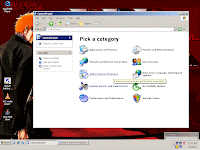
2. Select Add/Remove Windows Components.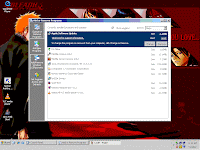

3. Select IIS and click Details.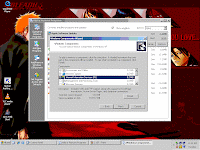

4. Select FTP Service and click Ok.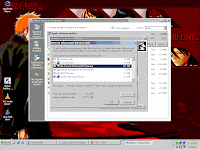

5. Insert your disc to install the needed files.

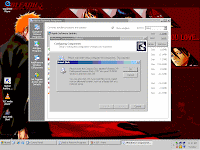
6. The needed files will be installed.
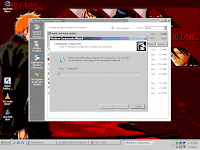
7. After the installation is finished, click Ok.
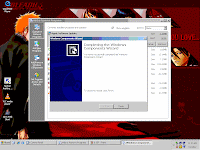
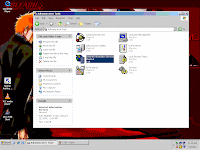
8. Go to Administrative Tools and double click IIS.
9. IIS window will open and right click FTP properties.

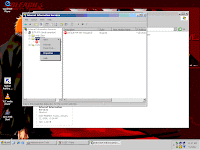
10. Choose the ip address the service will be bind.
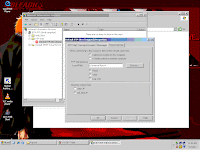
11. You can choose to enable/disable anonymous logins.
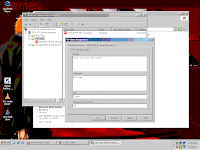
12. Enter your Banner, Welcome and Exit message.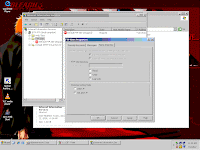

13. You can choose to select Read/Write options.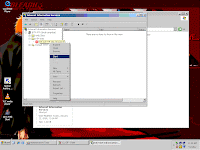

14. You can choose to select the root folder.

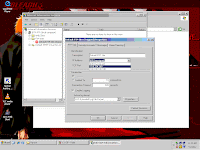
15. Start the service and begin transferring files.

2. Select Add/Remove Windows Components.

3. Select IIS and click Details.

4. Select FTP Service and click Ok.

5. Insert your disc to install the needed files.

6. The needed files will be installed.

7. After the installation is finished, click Ok.

8. Go to Administrative Tools and double click IIS.

9. IIS window will open and right click FTP properties.

10. Choose the ip address the service will be bind.

11. You can choose to enable/disable anonymous logins.

12. Enter your Banner, Welcome and Exit message.

13. You can choose to select Read/Write options.

14. You can choose to select the root folder.

15. Start the service and begin transferring files.
Subscribe to:
Comments (Atom)


