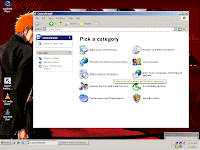
1. Go to Add/Remove Programs.
2. Select Add/Remove Windows Components.
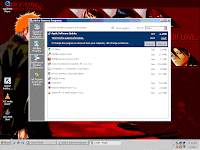
3. Select IIS and click Details.
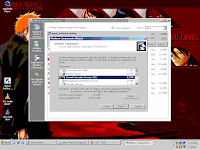
4. Select FTP Service and click Ok.
5. Insert your disc to install the needed files.
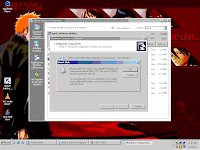
6. The needed files will be installed.
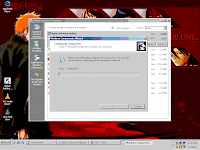
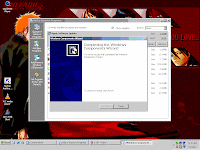
7. After the installation is finished, click Ok.
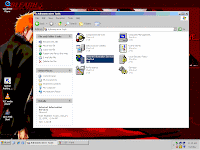
8. Go to Administrative Tools and double click IIS.
9. IIS window will open and right click FTP properties.
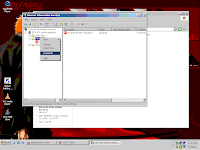
10. Choose the ip address the service will be bind.
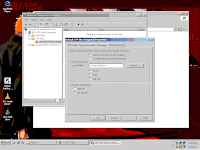
11. You can choose to enable/disable anonymous logins.
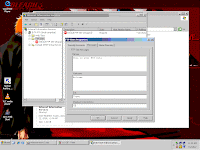
12. Enter your Banner, Welcome and Exit message.
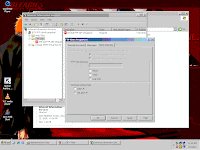
13. You can choose to select Read/Write options.
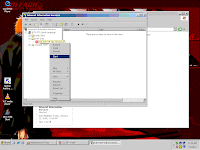
14. You can choose to select the root folder.
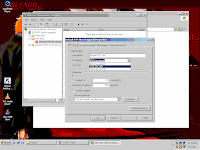
15. Start the service and begin transferring files.
Site Search
Wednesday, January 23, 2008
Monday, January 21, 2008
How To: Change Proxy per User Account
1. First create the user account that will logon to the machine with the different proxy settings.
Note: This user will have administrative privileges for us to edit the settings.
2. After creating the user, logon using this user.
3. Go to run and type gpedit.msc
4.Group Policy Editor will open, Go to User Configuration, Window Settings, IE then Connection
5. Double click Proxy Settings on the left pane and Proxy Settings Tab will open.
Enter your proxy settings for this logon user. Click Ok and save.
6. You can verify your changes by checking your proxy settings on your IE.
Note: After all configurations are done, go to Administrator user and change the account type of the user for security purpose.
Sunday, January 20, 2008
Wednesday, January 16, 2008
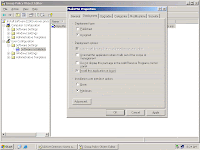
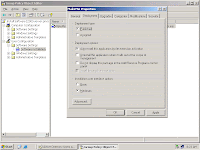
How To: Creating Policies using AD
1.Under AD Users and Computers, right click on the newly created OU, click Properties.
2. Under Properties Window, click Group Policy Tab, click New.
3. Enter the name of your New Policy.
4. Click Edit to configure your policy.
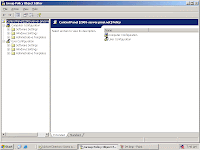
5. Group Policy Editor will open .
6. You can choose to configure anything, for this example we will prohibit the access to the Control Panel.
7. By enabling the access and clicking OK. You have created your first policy.
Tuesday, January 15, 2008
How To: Create Users and Groups
1. Go to Programs>Administrative Tools>AD Users and Computer
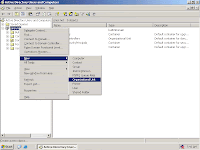
2.Under your domain, right click, New > OU
3.Enter your OU name.
4. A new folder will appear under your domain.
5.On your new OU, create your Users.
6. New Object window will open, enter your user logon, click next.
7. Enter your password, click next.
8.Click Finish.
9. You have now a OU and User.
2.Under your domain, right click, New > OU
3.Enter your OU name.
4. A new folder will appear under your domain.
5.On your new OU, create your Users.
6. New Object window will open, enter your user logon, click next.
7. Enter your password, click next.
8.Click Finish.
9. You have now a OU and User.
Subscribe to:
Posts (Atom)