Site Search

Google
 

Monday, January 21, 2008

How To: Change Proxy per User Account

1. First create the user account that will logon to the machine with the different proxy settings.
Note: This user will have administrative privileges for us to edit the settings.

2. After creating the user, logon using this user.

3. Go to run and type gpedit.msc
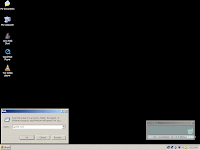


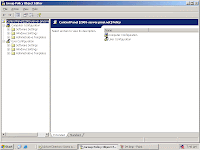
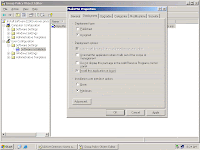
4.Group Policy Editor will open, Go to User Configuration, Window Settings, IE then Connection
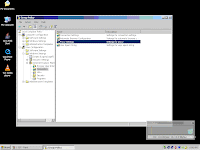


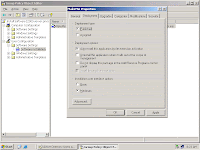
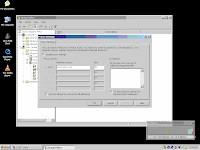
5. Double click Proxy Settings on the left pane and Proxy Settings Tab will open.
Enter your proxy settings for this logon user. Click Ok and save.


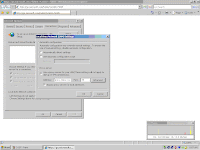
6. You can verify your changes by checking your proxy settings on your IE.
Note: After all configurations are done, go to Administrator user and change the account type of the user for security purpose.
Sunday, January 20, 2008

How To: Deploy MSI on Server - Options

1. Options
a. Assigned


b. default


c. install at logon

Wednesday, January 16, 2008

How To: Creating Policies using AD

1.Under AD Users and Computers, right click on the newly created OU, click Properties.


2. Under Properties Window, click Group Policy Tab, click New.


3. Enter the name of your New Policy.


4. Click Edit to configure your policy.


5. Group Policy Editor will open .


6. You can choose to configure anything, for this example we will prohibit the access to the Control Panel.


7. By enabling the access and clicking OK. You have created your first policy.

Tuesday, January 15, 2008

How To: Create Users and Groups

1. Go to Programs>Administrative Tools>AD Users and Computer


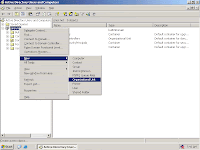
2.Under your domain, right click, New > OU


3.Enter your OU name.


4. A new folder will appear under your domain.


5.On your new OU, create your Users.


6. New Object window will open, enter your user logon, click next.


7. Enter your password, click next.


8.Click Finish.


9. You have now a OU and User.

Monday, January 14, 2008

How To: Client join the Domain

1. Right Click on My Computer, choose Properties.


2.System Properties window will open,
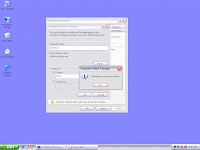
Go to Computer Tab and click Change.


3. Enter the computer name and put your domain name.


4. Enter the access to join the domain.


5. If the access is correct you are now part of the domain.


6. Finaly restart your machine to verify all the changes.

Sunday, January 13, 2008

How To: Installing Active Directory, Domain Controller and DNS

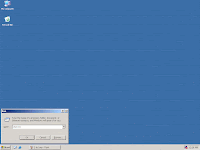
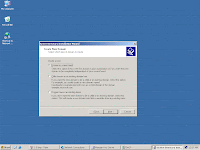
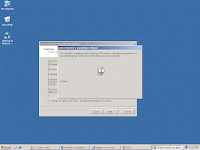
1. Run dcpromo.


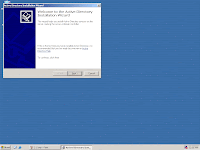
2. AD Wizard window will appear, click next.


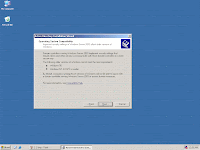
3. Click Next to contiune.


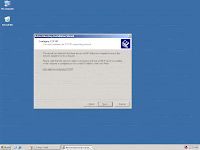
4. Make sure you have the correct TCP/IP settings.


5. Choose Domain Controller for a new domain.


6. Choose Domain in a new forest. Click next.


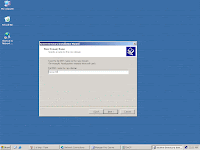
7. Enter you domain name.


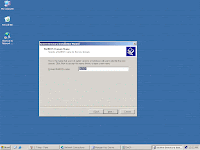
8. enter you NETBIOS name , if you need one. Click Next.


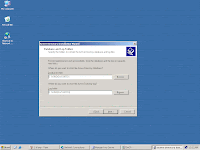
9. You can choose to change your Database and Log folders.


10. You can also choose where the SYSVOL folder will be stored.


11. Choose to install also the DNS service. Click next.


12. Select compatible only with 2000/2003 OS.


13. Enter you password for Restore mode.


14. AD wizard will now begin.


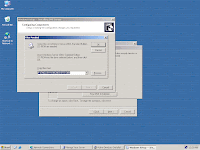
15. Insert the CD for needed files.


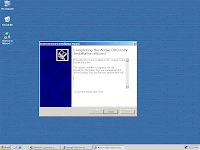
16.Wait until the installation is completed, click finish.


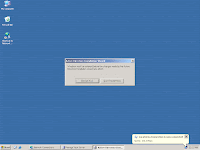
17. Your system must be restarted to apply the changes.

Wednesday, January 9, 2008

How To: Configuring DHCP Server

1. On Manage Your Server, click on Manage the DCHP Server.


2. DHCP Tab will open.


3. Right Click your server and choose New Scope.


4.New Scope wizard will start, click next to continue.


5. Type in your DHCP Server Name and add description.


6. Type in your IP Address range and its subnet mask, click next.


7. You can choose to exclude ip address, click next.


8. You can also change the Lease duration time, click next.


9. Select Yes to start configuring your DHCP parameters.


10. Type in your Router IP Address.


11. Input your domain and dns server.


12. If your still using Wins, input in your info.


13. Choose Yes to activate the scope.


14. Click Finish.


15. Finally Authorize your DHCP server and is now ready to use.